Enovates charging stations
Supported Devices
| Device Type | Variants | Modbus TCP (Ethernet) | RS485 | Curtailment |
|---|---|---|---|---|
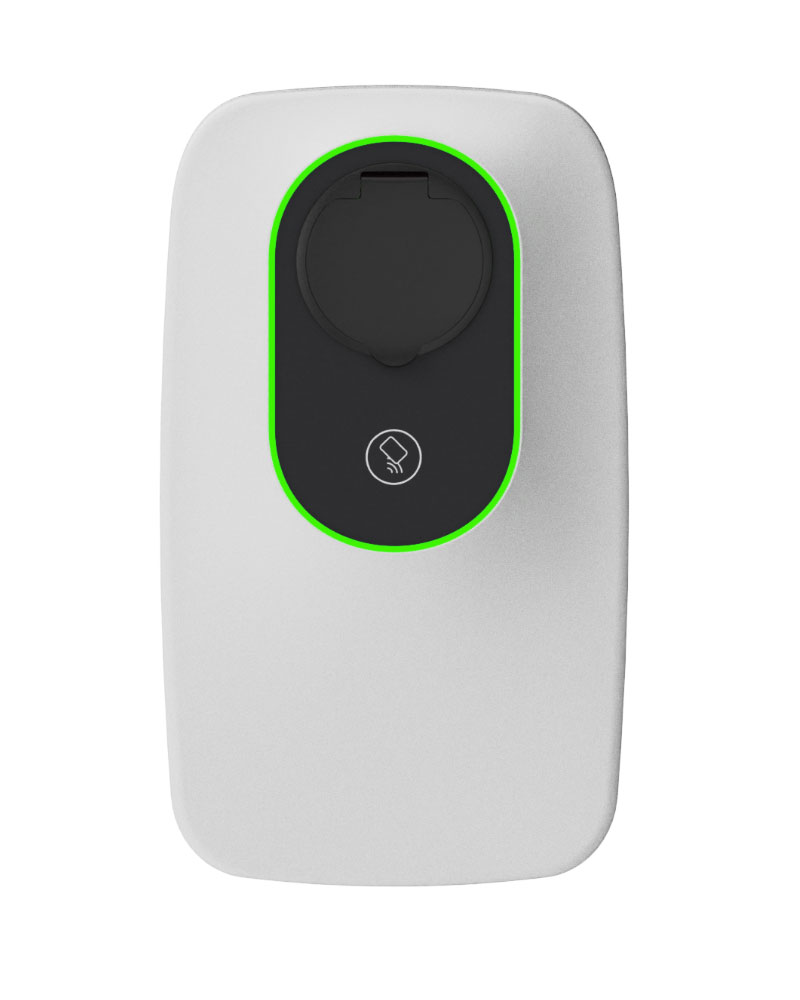
| Enovates Single Wallbox (SWB_4xx_22 series) | T2 / C7 / T2S / T2S+E | ✅ | ❌ | ✅ (per-connector current setpoint) |
Wiring
Ethernet
- Connect the LAN (Ethernet) port of the charger to the same network as the DemoBrandName ControllerDemoName.
- For correct Ethernet wiring standards, follow the Ethernet wiring guidelines.
- Make sure port 502 (Modbus TCP) is not blocked by your firewall or switch configuration.
Configuration
After completing the physical installation and powering on the unit, follow these steps to configure the Wallbox.
1. Install the My‑eNovates App
The charger is configured using the official My‑eNovates mobile app.
2. Prepare the charger
- Power on the charger and wait until the LED frame lights up.
- Steady yellow: Vehicle detected / ready for authorization
- Steady green: Authorized / ready for charging
- Enable Bluetooth on your phone or tablet.
- Locate the User QR code printed on the back of the installer manual or charger label. You will need this to connect through the app.
3. Connect and configure the device
- Open My‑eNovates and scan the User QR code.
- Follow the app’s instructions to connect to the charger and set parameters:
- Charger name (alias) – for easy identification
- Authentication mode
- Plug & Charge – charging starts automatically when a car is plugged in
- RFID authorization – the user must swipe a valid RFID card
- Token management – add or remove RFID tags
- Charging schedule – optional time scheduling
- LED light intensity – adjust brightness if required
- Confirm and save settings. All configurations are stored locally in the charger.
4. Verify network and Modbus TCP access
- Connect the Ethernet port of the charger to the site LAN that hosts the ControllerDemoName.
- Ensure the charger is assigned a fixed IP address (either manually or via DHCP reservation).
- The Modbus TCP port 502 must be open.
- You can confirm accessibility by pinging the charger’s IP from a PC or the controller network.
- On the DemoBrandName ControllerDemoName interface, go to:
Devices → Add device → EV Charging Station → Modbus TCP- IP address: enter the charger’s IP
- Port: 502
- Unit ID: 1 (default)
Start the scan. The controller detects the Enovates Wallbox automatically and creates:
- One parent node for the charger
- One child node per connector