Chargee
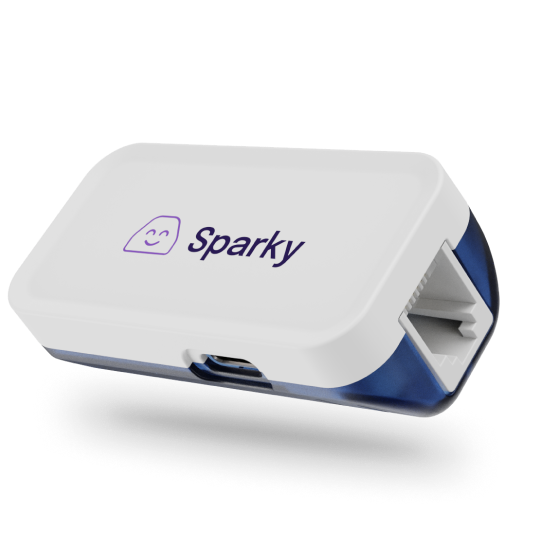
Chargee produces energy readout devices that connect to the p1-interface of smart meters. The DemoBrandName ControllerDemoName supports the Sparky P1 meter from Chargee. More information can be found on the Chargee website.
Supported Devices
You can use two different methods to connect the Sparky P1 meter to the DemoBrandName ControllerDemoName: via the Local API (recommended) or via the Cloud API.
- The local API means that we directly connect to the Sparky P1 meter using the local network. The DemoBrandName ControllerDemoName connects to the Sparky P1 meter using its IP address.
- The cloud API means that we connect to the Sparky P1 meter via Chargee's cloud servers. In this case, the DemoBrandName ControllerDemoName connects to Chargee's cloud using your Chargee account credentials.
We recommend using the Local API, as it offers better reliability and faster readout speeds. Use the Cloud API only if the Local API is not an option for you.
| Device Type | Local API (recommended) | Cloud API |
|---|---|---|
| Sparky P1 Meter | ✅ | ✅ |
Local API: Setup Instructions
- First, configure the Sparky P1 meter and app according to the Chargee Sparky P1 meter manual.
- Connect your DemoBrandName ControllerDemoName to the same network as your Sparky P1 meter.
- Scan your Sparky P1 meter in Devices Wizard of the DemoBrandName ControllerDemoName. Identify it using its IP address or MAC address.
- Finish the Devices Wizard. By default, we configure the Sparky P1 meter as a grid meter, but you can change this in the device settings after adding the device.
Cloud API: Setup Instructions
- First, configure the Sparky P1 meter and app according to the Chargee Sparky P1 meter manual.
- Scan your Sparky P1 meter in Devices Wizard of the DemoBrandName ControllerDemoName and enter your Chargee username and password when prompted.
- Finish the Devices Wizard. By default, we configure the Sparky P1 meter as a grid meter, but you can change this in the device settings after adding the device.