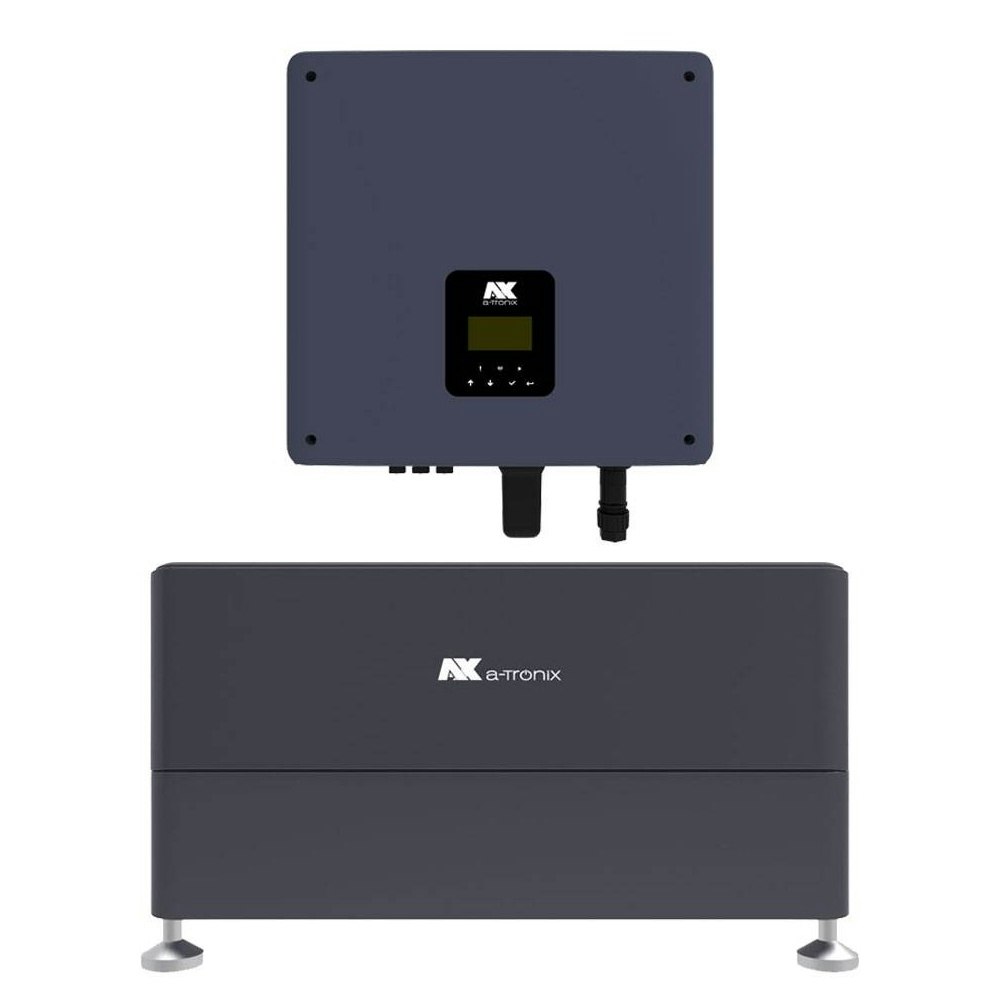
a-TroniX Inverters
Supported Devices
| Device Type | Variants | Modbus TCP (Ethernet) | RS485 | Curtailment |
|---|---|---|---|---|
| a-TroniX | 1-ph | ❌ | ✅ | ✅ |
| 3-ph |
Wiring
RS485
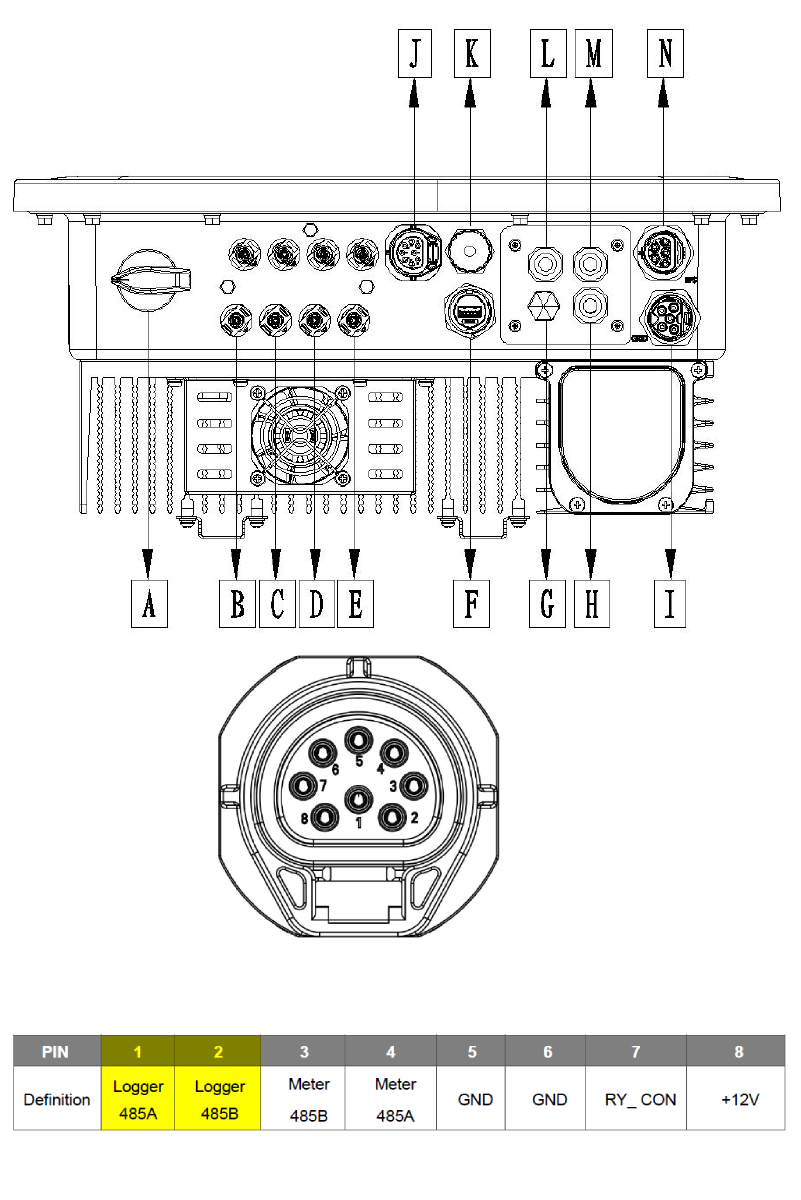
The inverter can be connected to the SmartgridOne Controller via RS485. This is done through connection [J] in the image below.
RS485 Wiring
- For correct RS485 wiring: Follow the guidelines for RS485 wiring.
- If the wiring shown in the table below is incorrect, please let us know.
- There is no general consensus in the industry about the usage of A and B for the RS485 polarity, so it may be counterintuitive and opposite of what you might expect for some devices.
| Device | SmartgridOne Controller model OM1 | SmartgridOne Controller model IG8 | RS485-USB converter | RS485-Ethernet converter |
|---|---|---|---|---|
| Logger 485A / pin 1 | RS485 A | RS485_POS | RS485 A | TX+ |
| Logger 485B / pin 2 | RS485 B | RS485_NEG | RS485 B | TX- |
| N/A | RS GND | GND | Not available | G |
Configuration
1. Activation monitoring & management inverter
The control must be activated through the inverter, and the meter must be deactivated. This is done through the display in the Feature Parm menu. First, open the Feature Parm menu as follows:
- Go to the Menu.
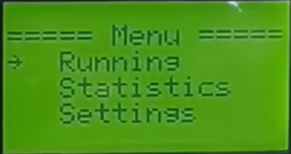
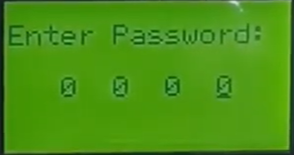
- Enter the password. The default is 0000.
- Select Settings.
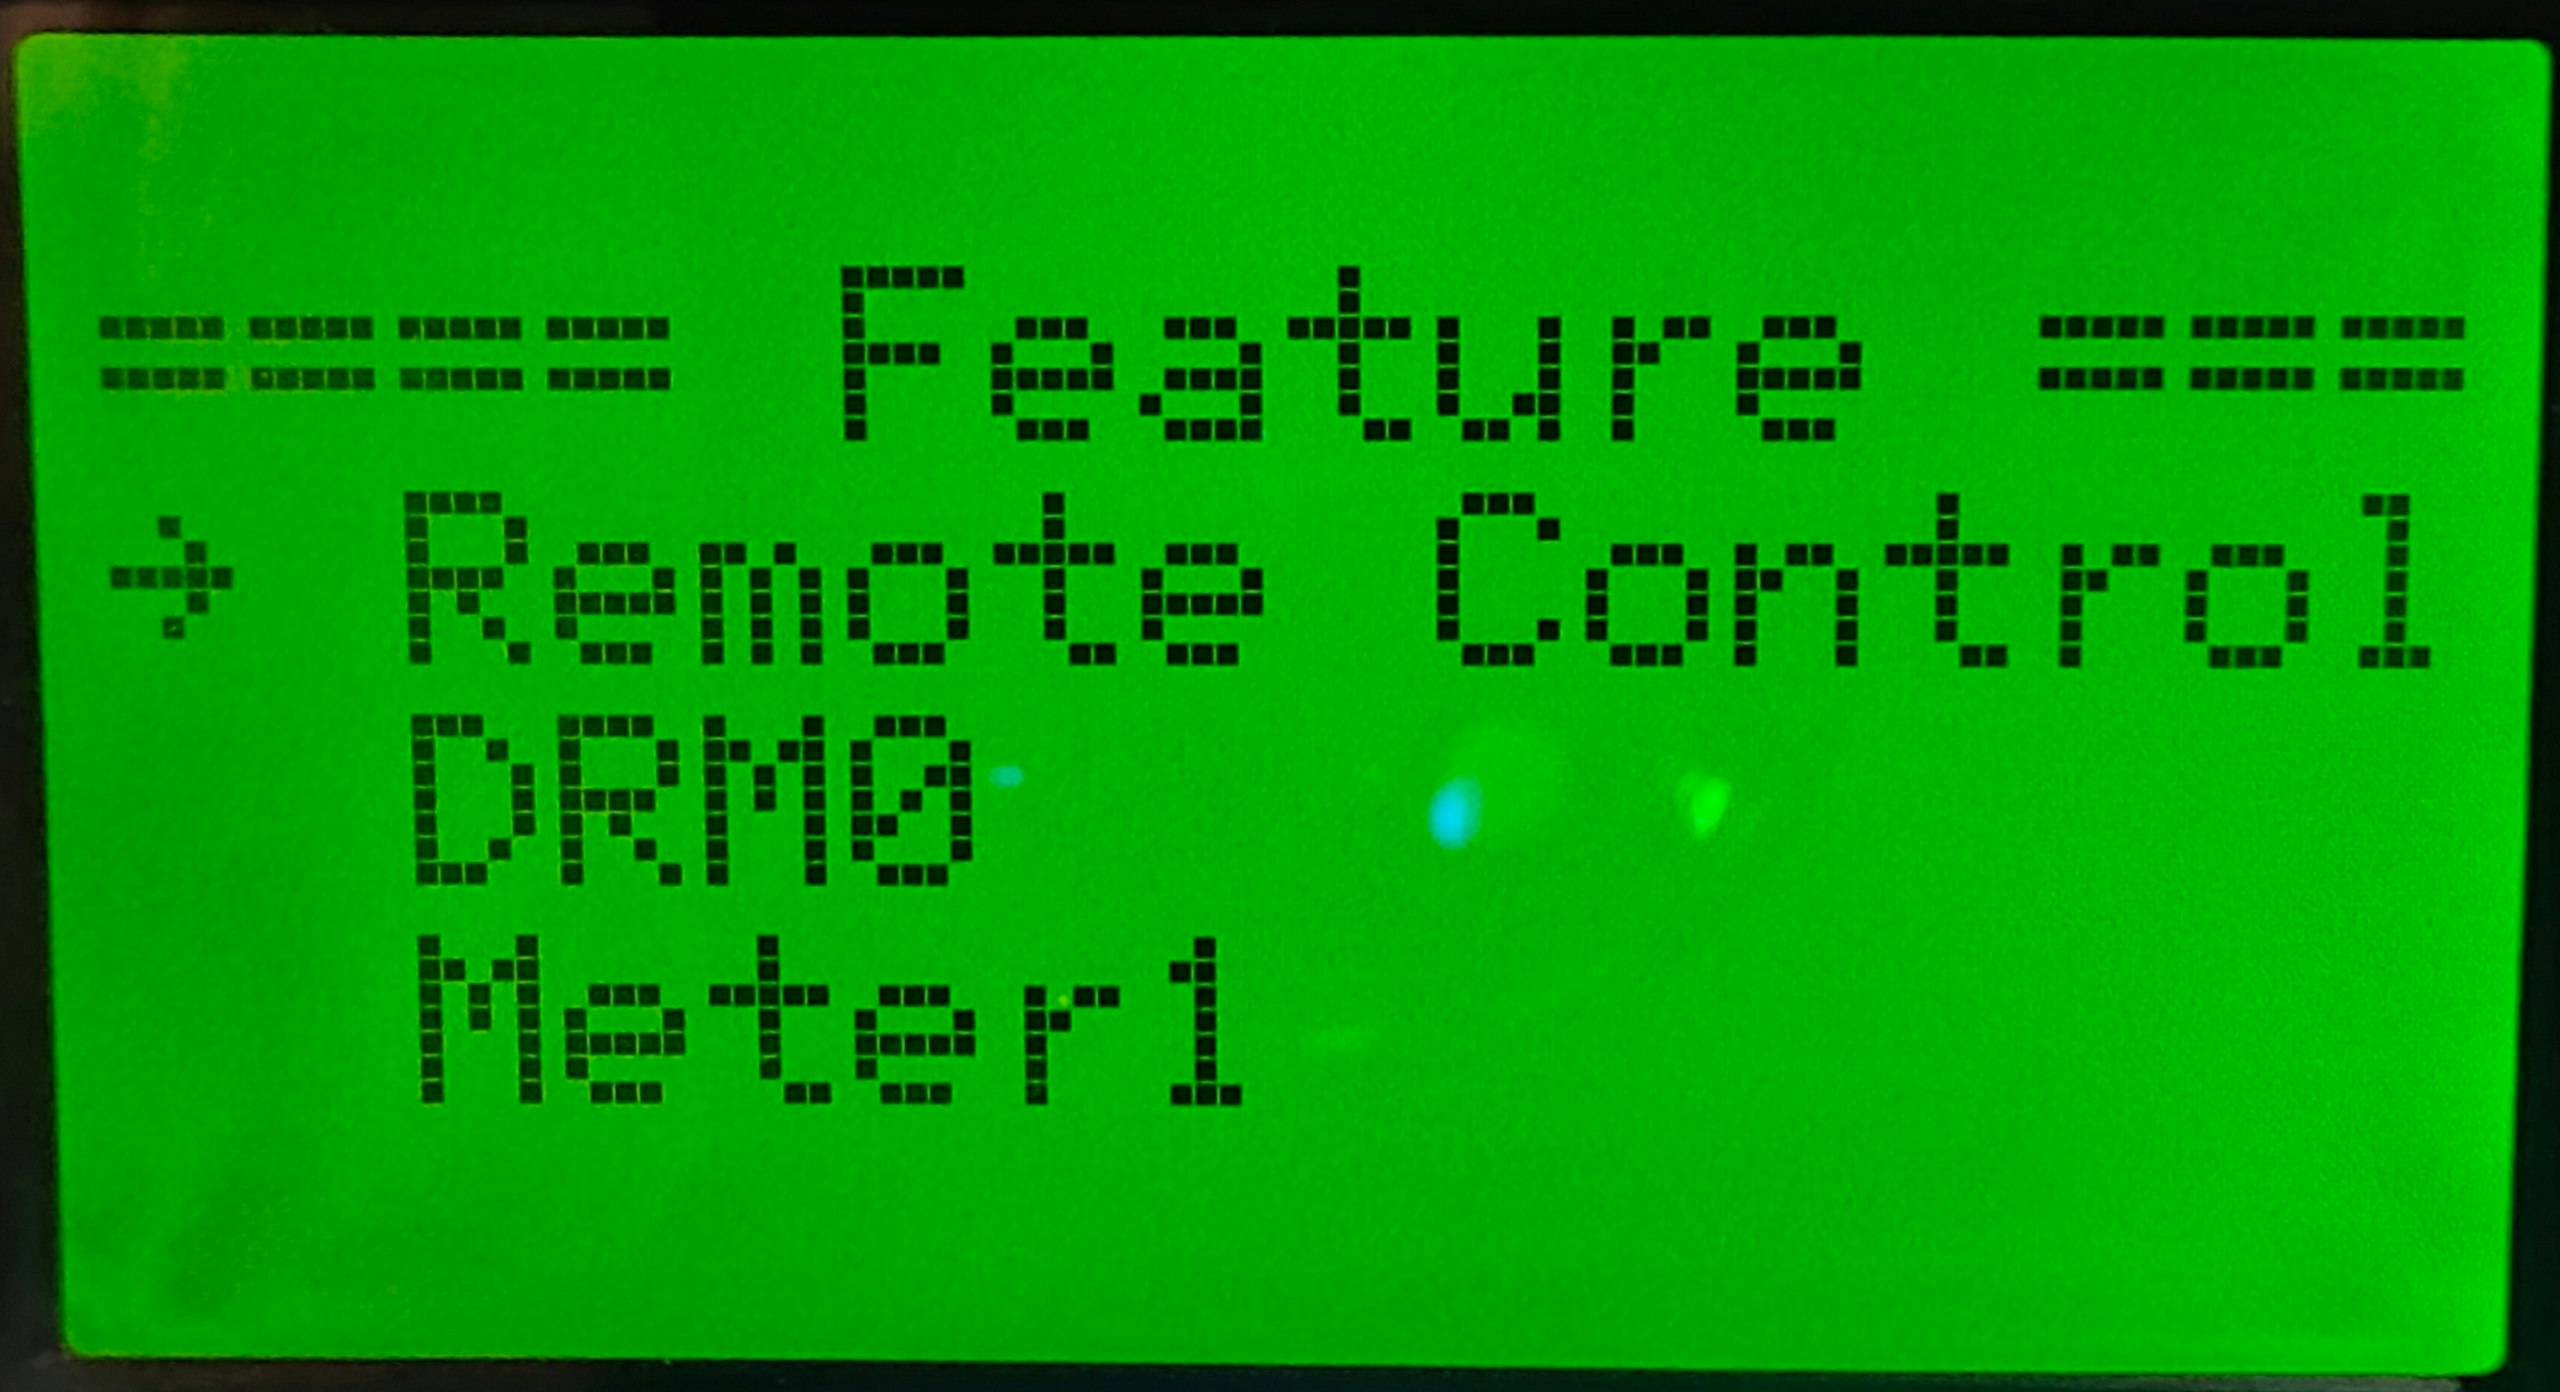
- Select Feature Parm
2. Activating remote control
Use the display further from the Feature page to activate the control, following the steps below:
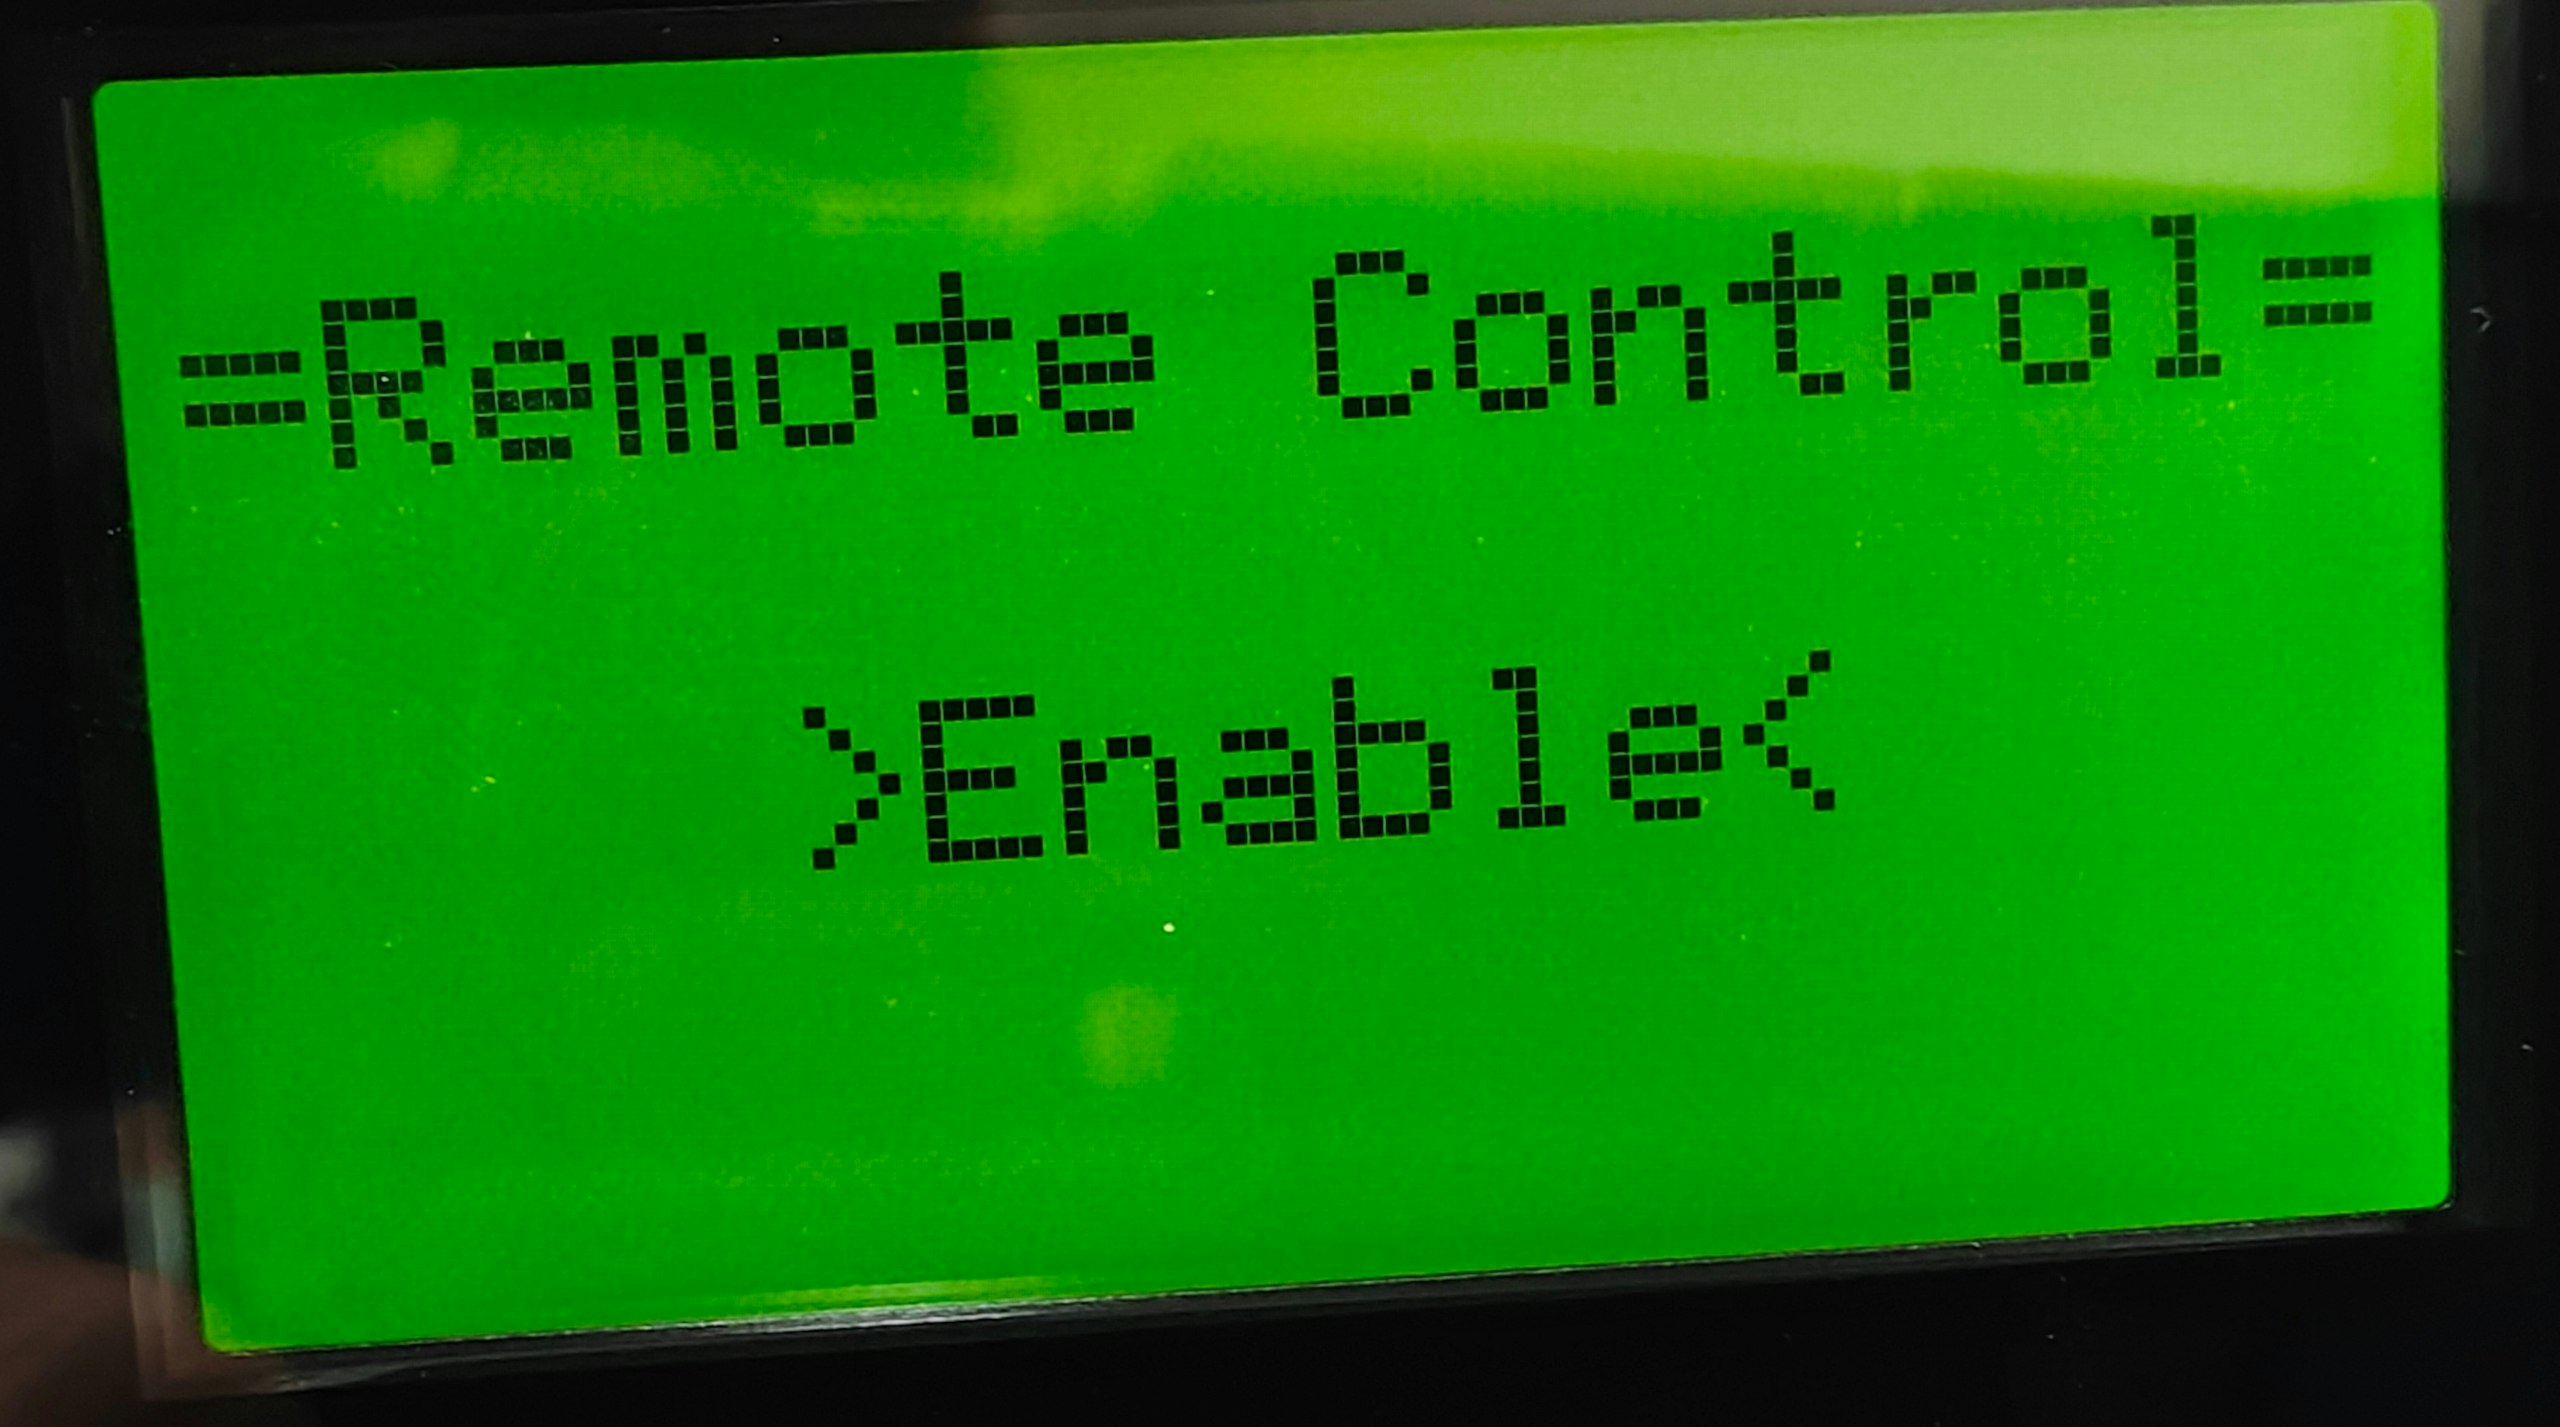
- Select Remote control
- Set it to Enable
3. Deactivating meter
The meter must be deactivated. The control will be taken over by the SmartgridOne Controller. Therefore, the meter should not be connected to the inverter but to the SmartgridOne Controller. To deactivate the meter in the settings, follow these steps:
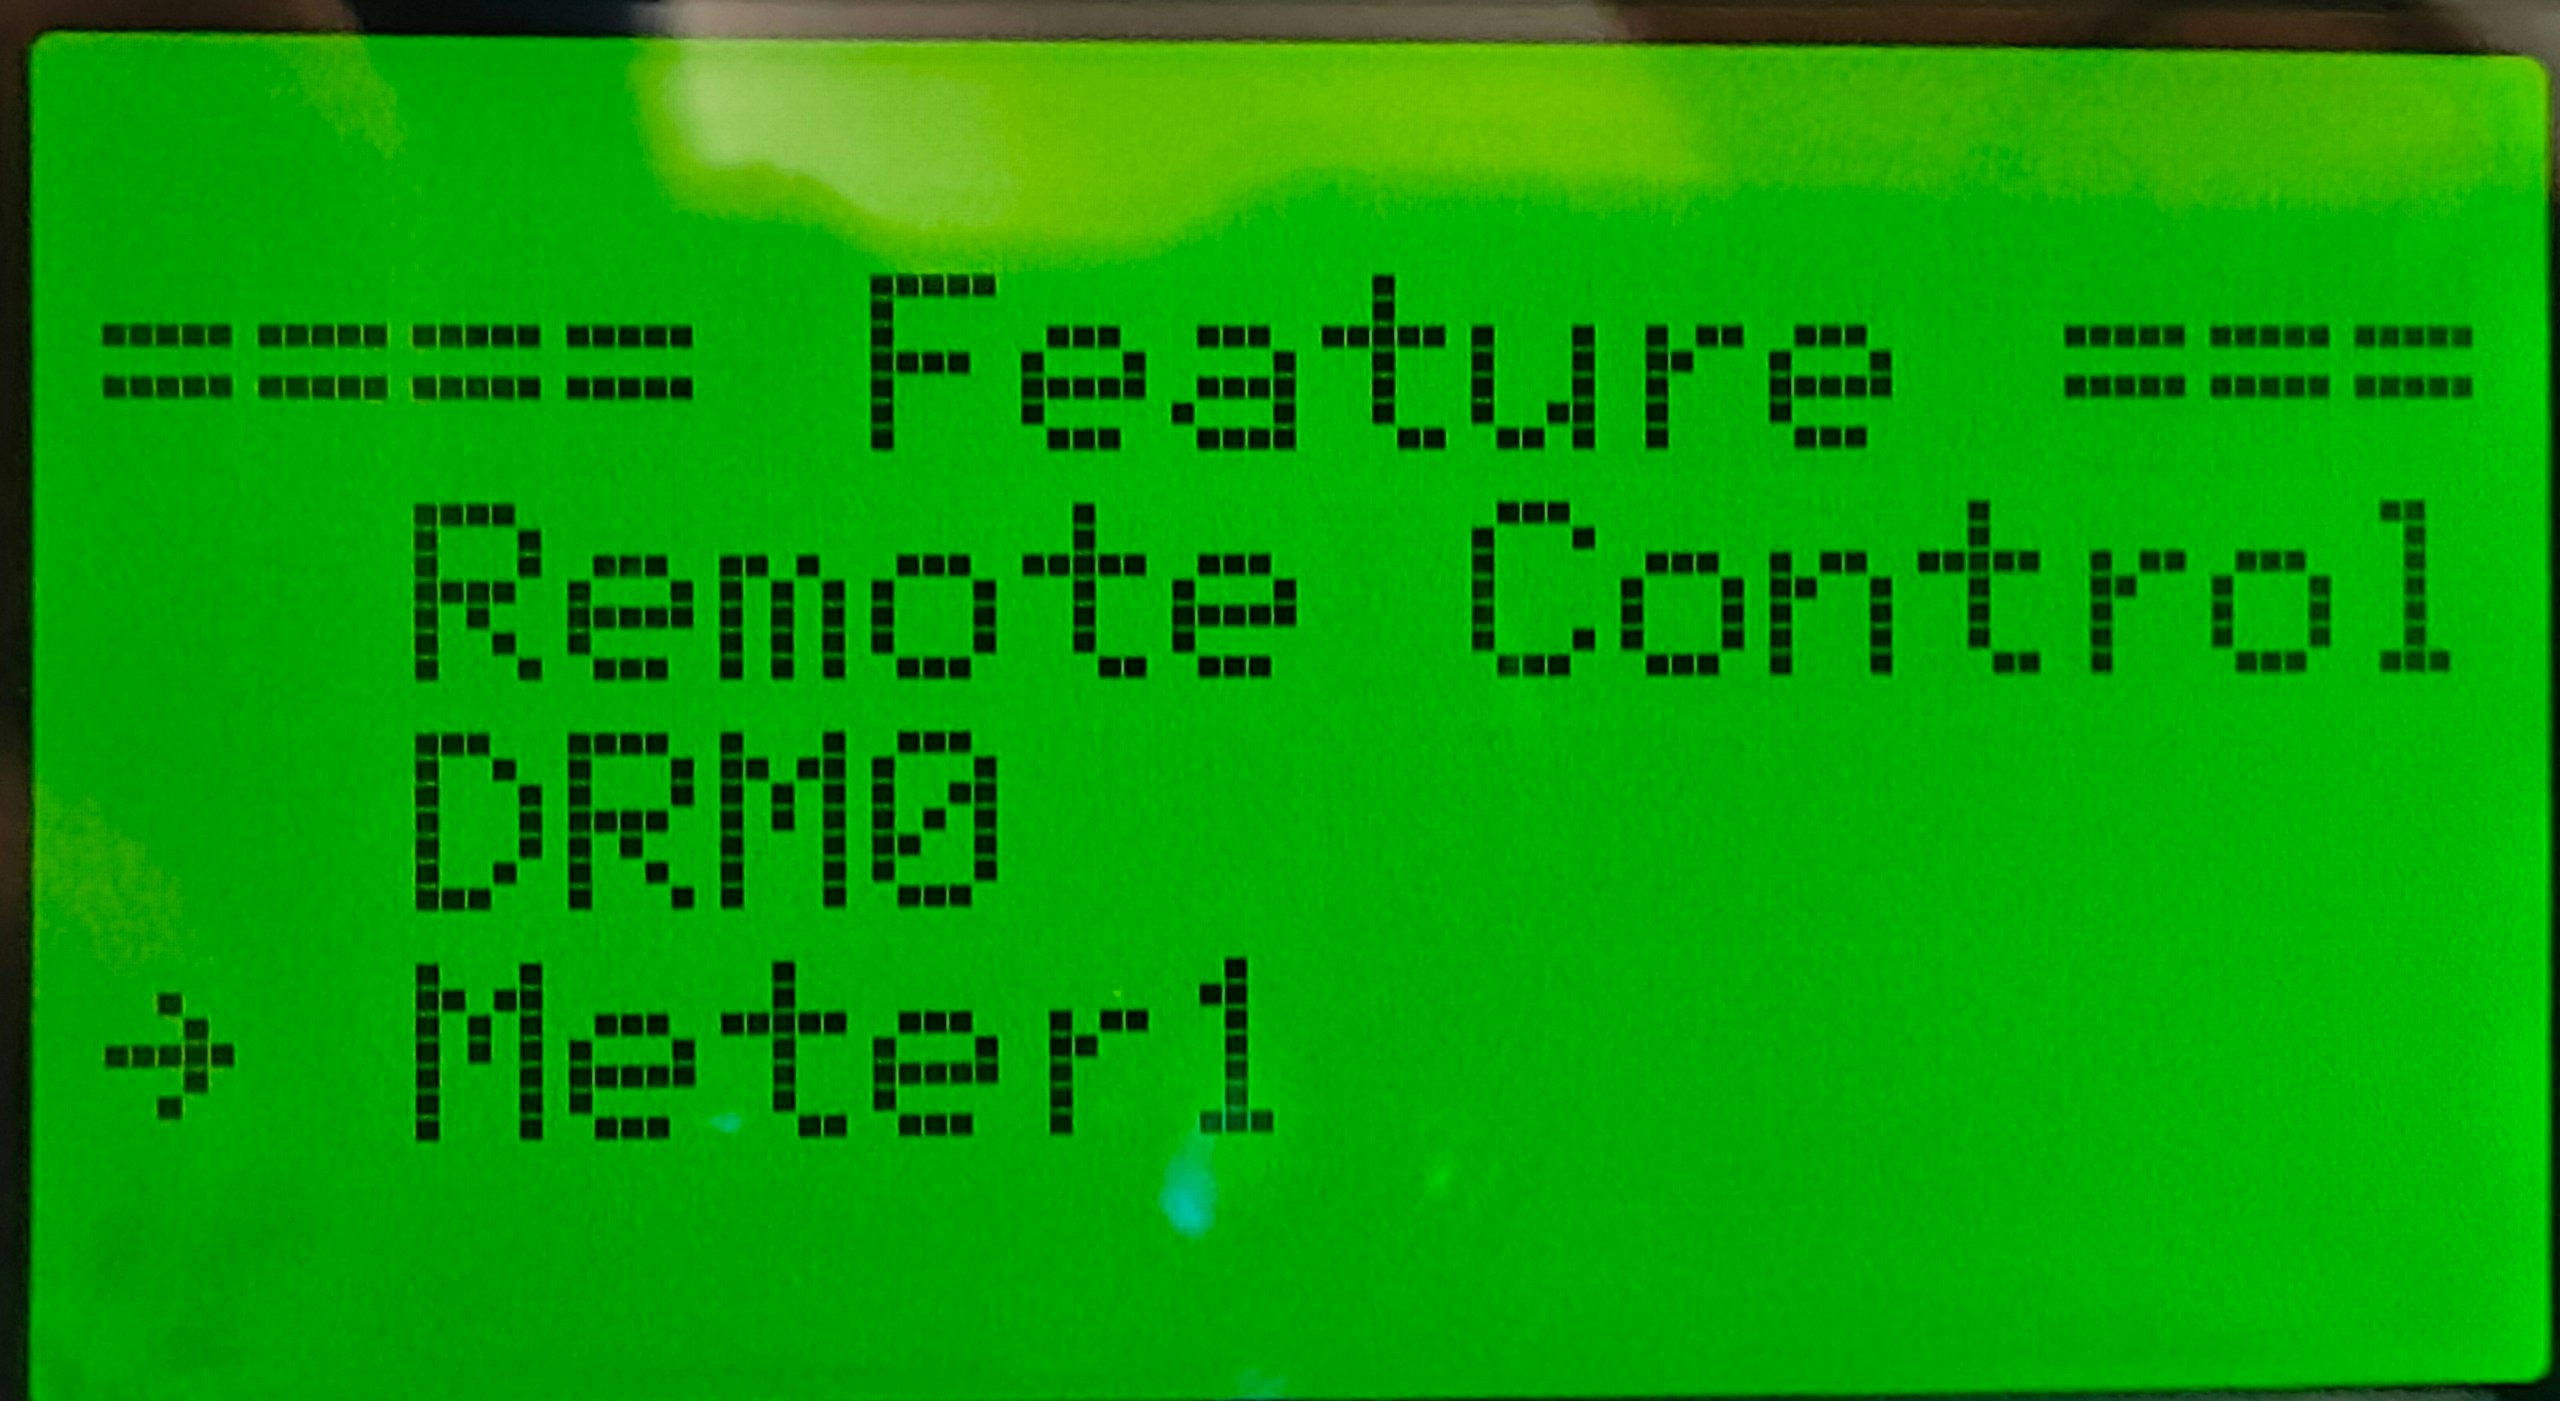
- Go back to the Feature page.
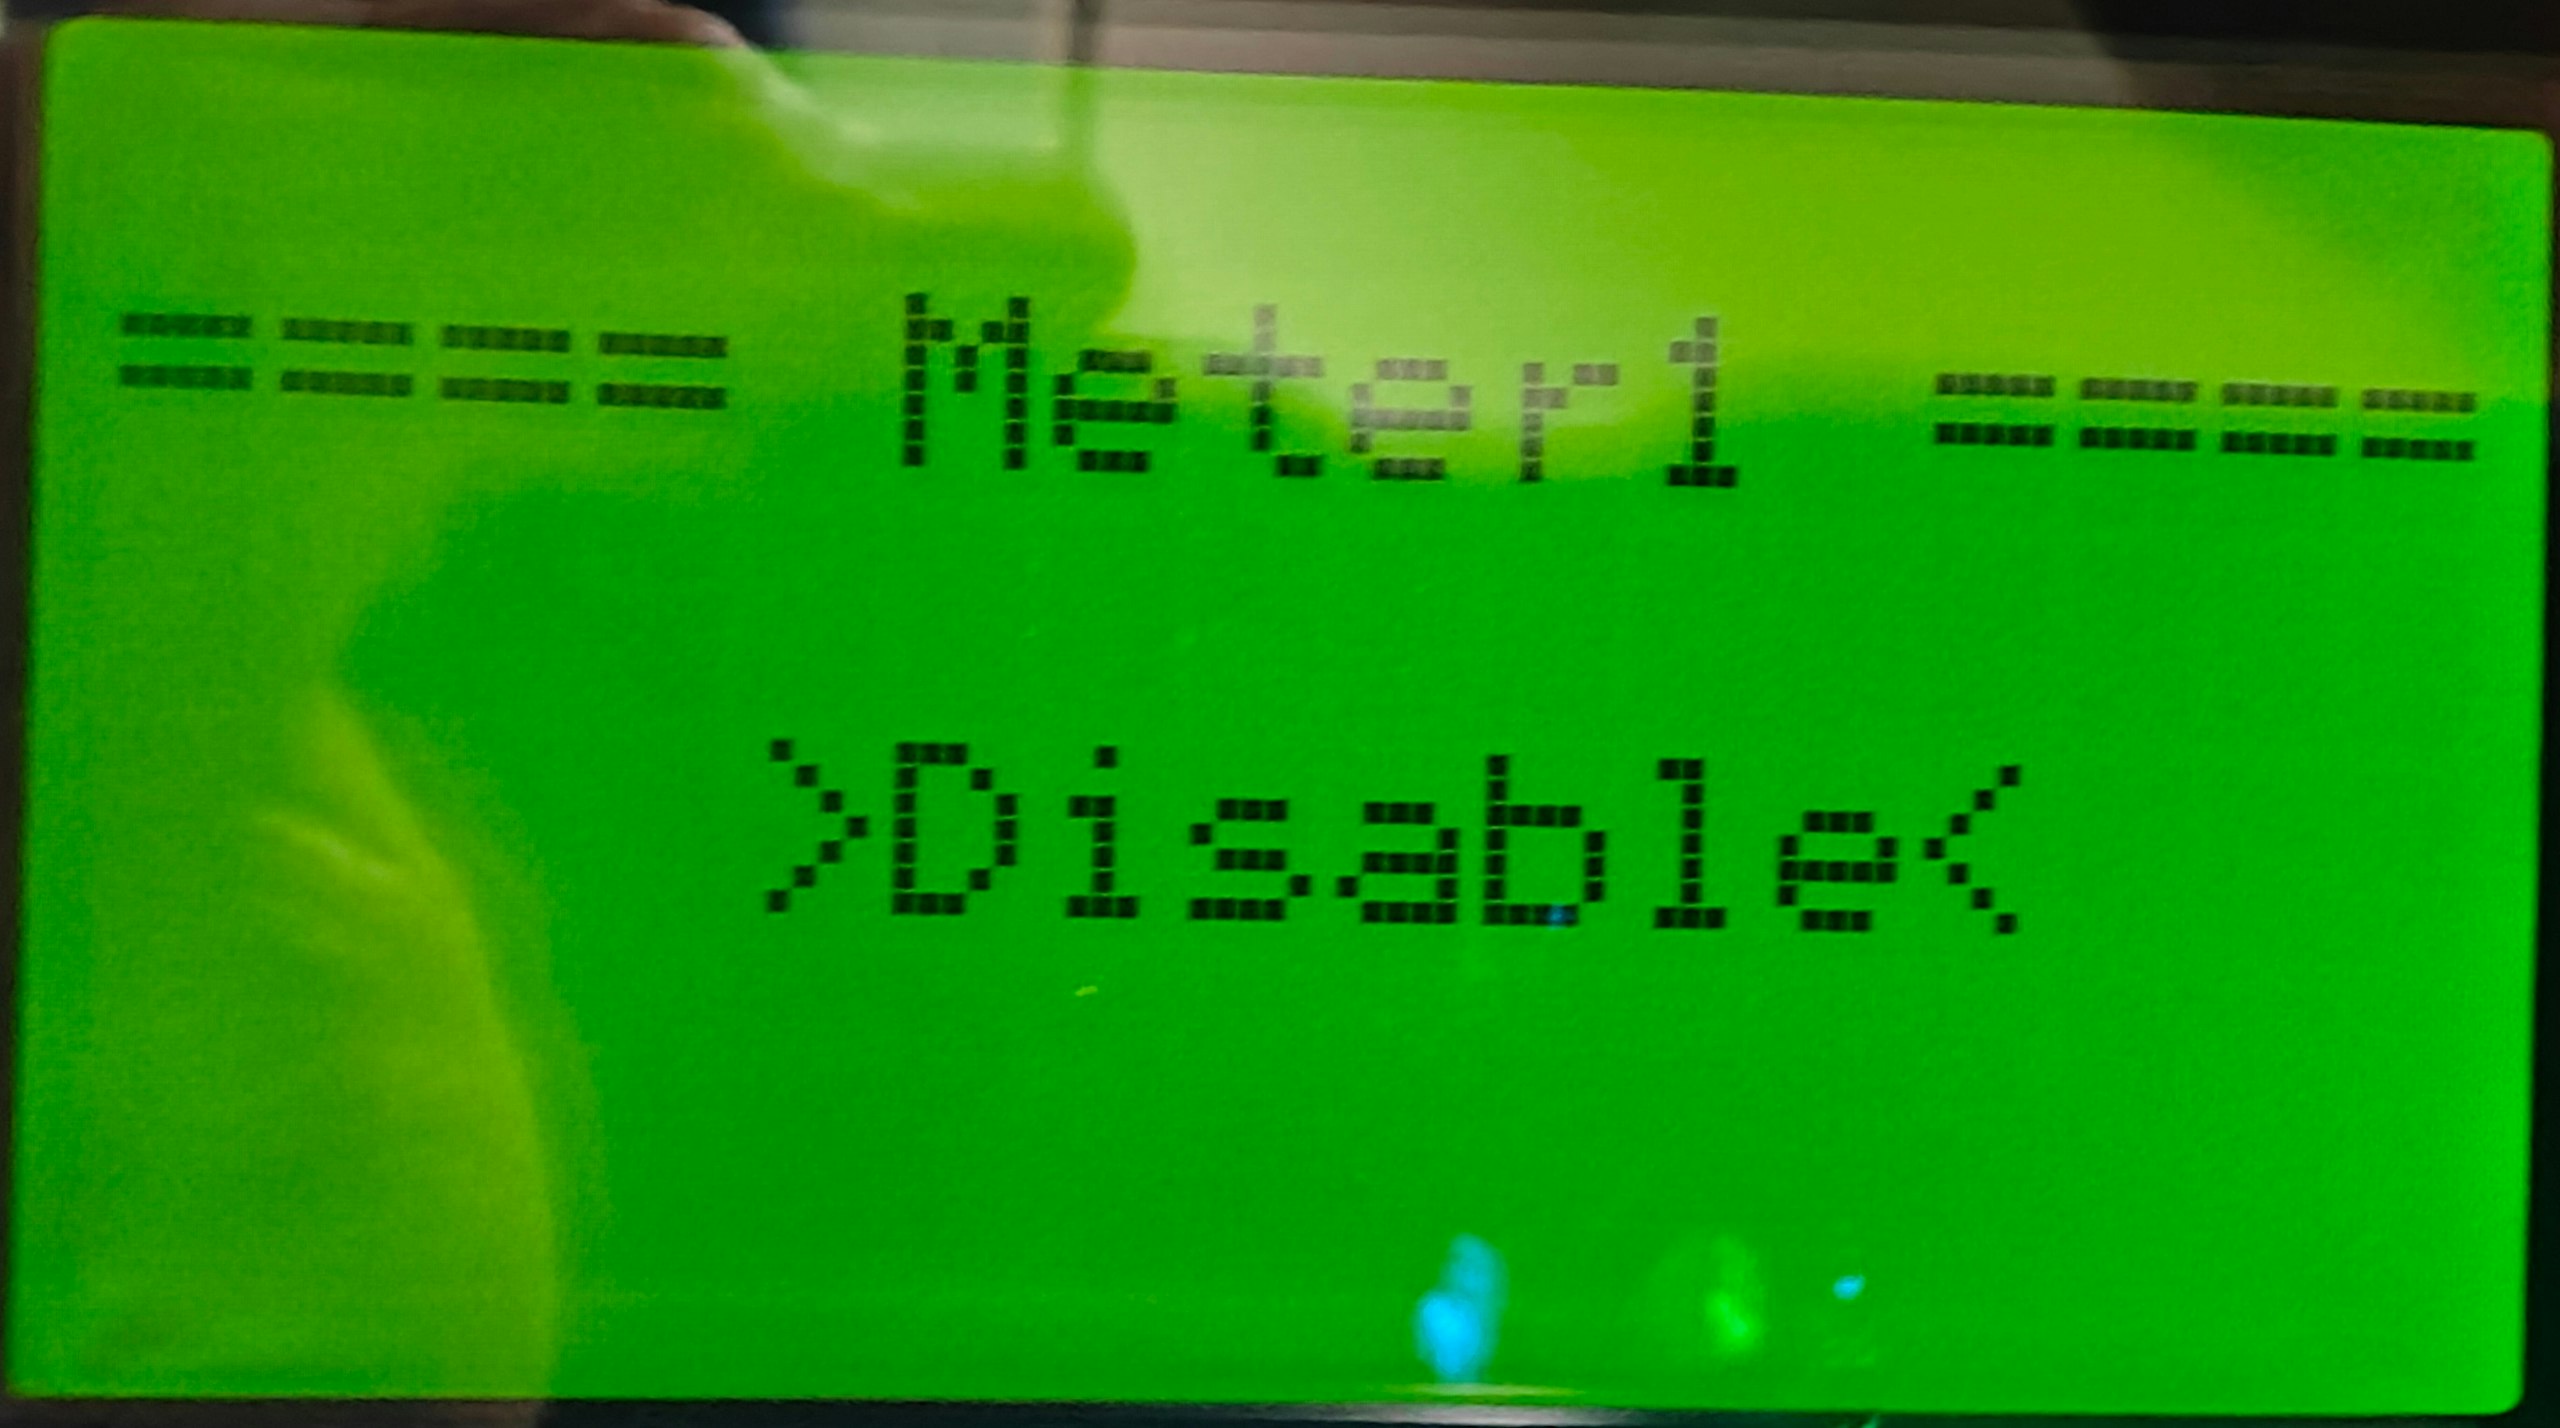
- Select Meter1
- Select Set
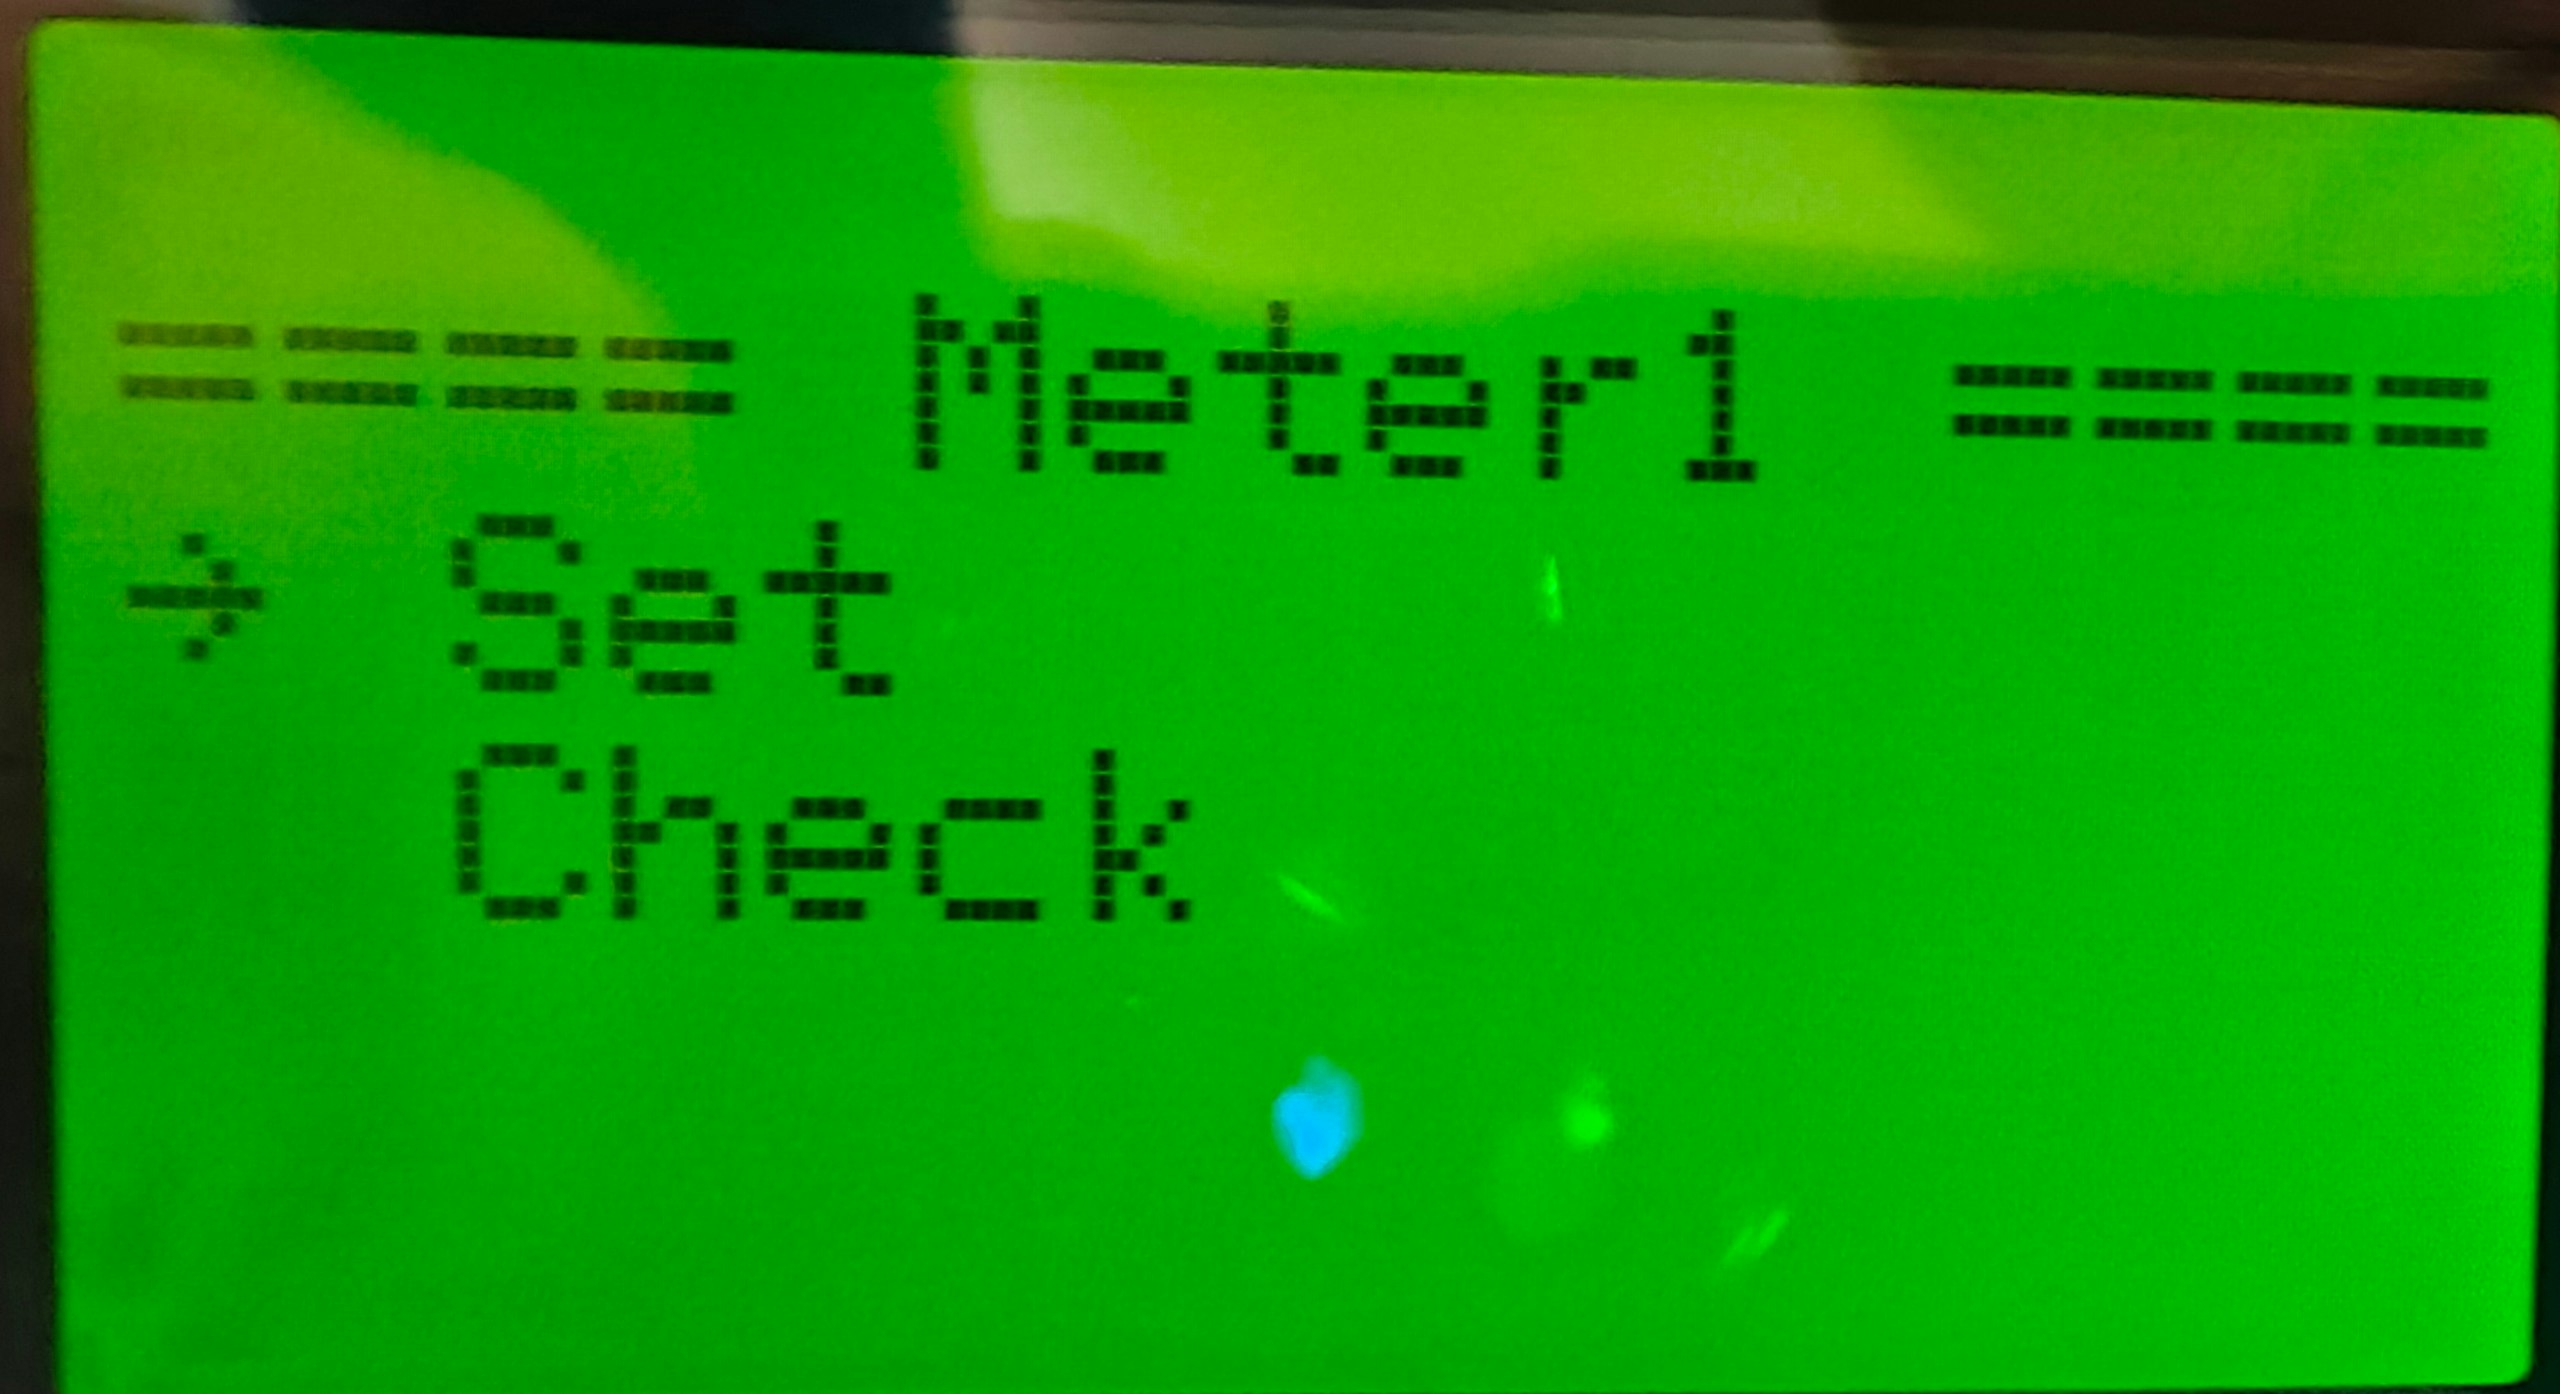
- Set it to Disable
4. Settings inverter address
The address of the inverter can also be set through the display.
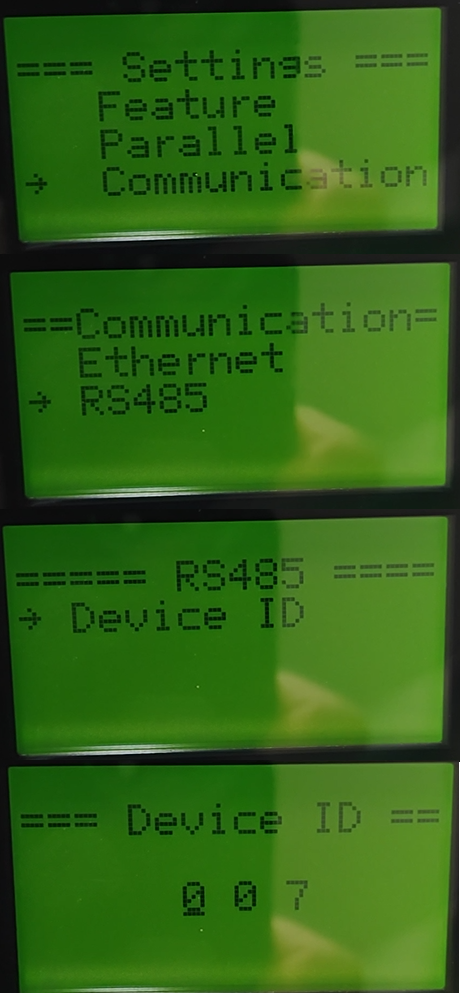
- Go to the Settings menu as described earlier.
- Select Communication
- Select RS485
- Select Device ID
- Set the device ID to the desired address. If you connect multiple devices to the same RS485 bus, you must give each a unique address.
Tip
Faster scanning
The SmartgridOne Controller starts scanning from address 1 by default. Choosing a lower address will make your inverter be found faster.
Warning
Multiple inverters
If you have multiple inverters then it is important to set the parallel addresses, each inverter should have a different address.